On my latest excursion into the recently released Adobe Photoshop CS6 I stumbled upon a great surprise: Adobe has brought back and revamped the stalwart filter Lighting Effects.
If you are familiar with the latest releases of Adobe's Creative Suite, you probably were made aware of some of the features of Photoshop dropping out of existence because of the move from 32-bit to 64-bit processors. Between CS4 and CS6, Lighting Effects was one of them, along with others like the Extract command. The Extract command has returned within the confines of the Refine Edges panel, but nothing replaced Lighting Effects. Unfortunately it was just gone, much to my discouragement, because I have relied on that feature for many things.
Revamp a plain background with Lighting Effects
Happily, Adobe has updated it for 64-bit processing, and made it better by a few degrees as well. For your learning insight, I will go through an example of using this handy feature. I will start with a basic setup for a logo, with somewhat of a glow, neon effect. To give it more atmosphere I aim to embellish the "wall" this neon logotype hangs on.

Currently, the wall is plain and lifeless. It certainly doesn't give us the idea of someone turning the lights on after normal operating hours. So, I will add a couple of lights. After copying the blue background layer, I opened the Lighting Effects filter by going to Filters > Render > Lighting Effects.
A new interface for filters
The first thing I noticed when I opened this filter is Photoshop CS6's new interface for filters and similar operations. Photoshop keeps as many aspects of this filter interactive on-screen, with the panel controls off to the side. Certain controls are available by clicking on certain areas of the on-screen light proxy. As far as that goes, you don't even notice any difference between normal editing mode and this one, except for the fact that you have to hit an apply button to get out of this filter operation.

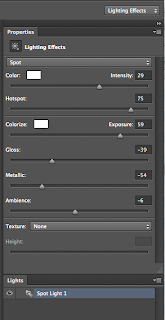
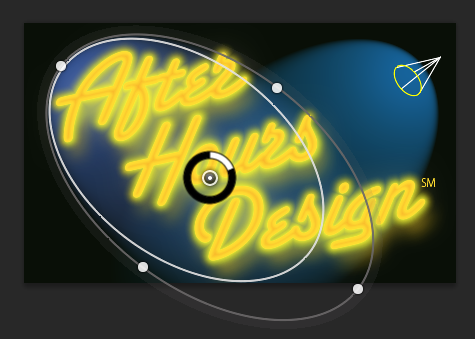
To rotate the light, place your cursor over one of the handles of the outer ellipse. To expand or contract the light's illuminating area, click on the inner ellipse. Change the intensity of the light source by dragging within the inside central ring. You choose which type of light you currently are using by the top menu on the options panel. Additional lights are available at the upper left of the window.
After setting the first light, I added another spot with a slightly greener blue color.
Use a texture with Lighting Effects
Now, this basic lighting effects stuff gives us a good start. However the wall is still just flat and uninteresting. I am thinking this would look much more appropriate as a brick wall. So, I just so happened to have created a seamless brick pattern to use. How will I use this? As an alpha channel that we can plug into the lighting effects Texture option.
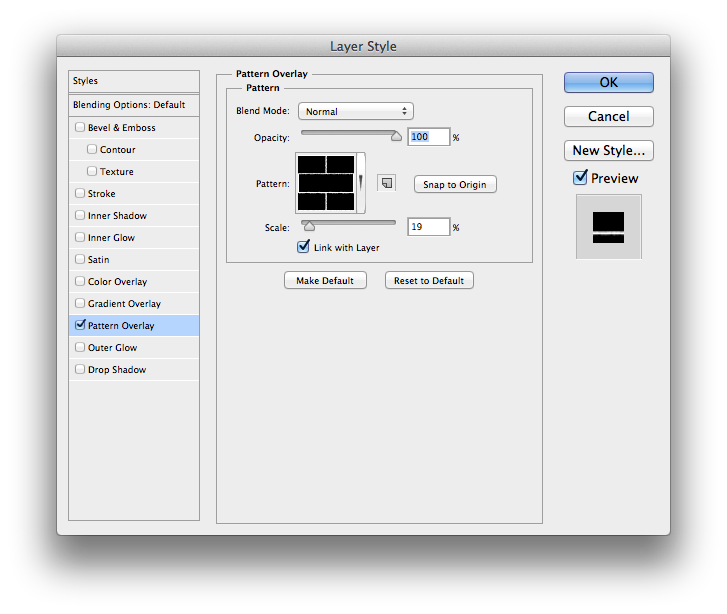
So, I next create an empty layer with the brick pattern overlay fill. The best approach for seamless patterns is to create them amply large, so you only need to scale down rather than up for their use. Here, I scaled my pattern down to 19 percent. (Hint: A pattern overlay allows you to scale it!)
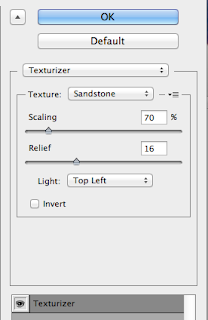
So, then I viewed this layer alone, opened the Channels panel, and copied one of the component channels (the Blue one) to make a new alpha channel. Next, I inverted this alpha channel, and brought in a Texturizer filter, to give the bricks some roughness.
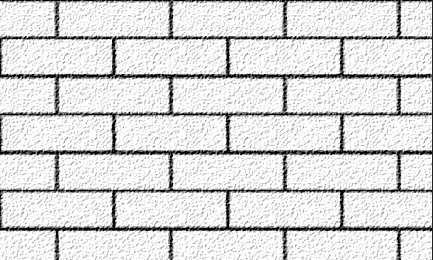
Load edited alpha channel into LE Texture option
Now I'm ready for the final touch. I open the lighting effects filter settings on the wall layer and go to the Texture option. Then I choose the alpha channel I just finished editing to allow lighting effects to use it for a bump map.
Now we can see the final result is much improved from the plain original, thanks to what lighting effects can do.


